One task a clubmaker will encounter is replacing a shaft into a club which has an adjustable shaft adapter sleeve whether it is to replace a broken shaft or upgrade to a shaft that better fits the customer. Most name brand drivers as well as many fairways and hybrids will offer this feature to be able to change the lie, face angle and "effective loft" of the club. While there is an extra piece involved, the basic principles of re-shafting remain the same with only a few exceptions.

Choose between a new or the original shaft adapter sleeve
There are two options that a clubmaker can discuss with their client on how to accomplish the task. One would be to reuse the existing adapter and the other is purchasing a new adapter sleeve and starting fresh. There are good reasons for either choice. If you do decide on using the original OEM adapter, then that will save money. On the other hand, if you decide on installing a shaft into new adapter sleeve, then you still have your old shaft as a backup or to sell. That is assuming the old shaft was still intact.
Shaft adapter position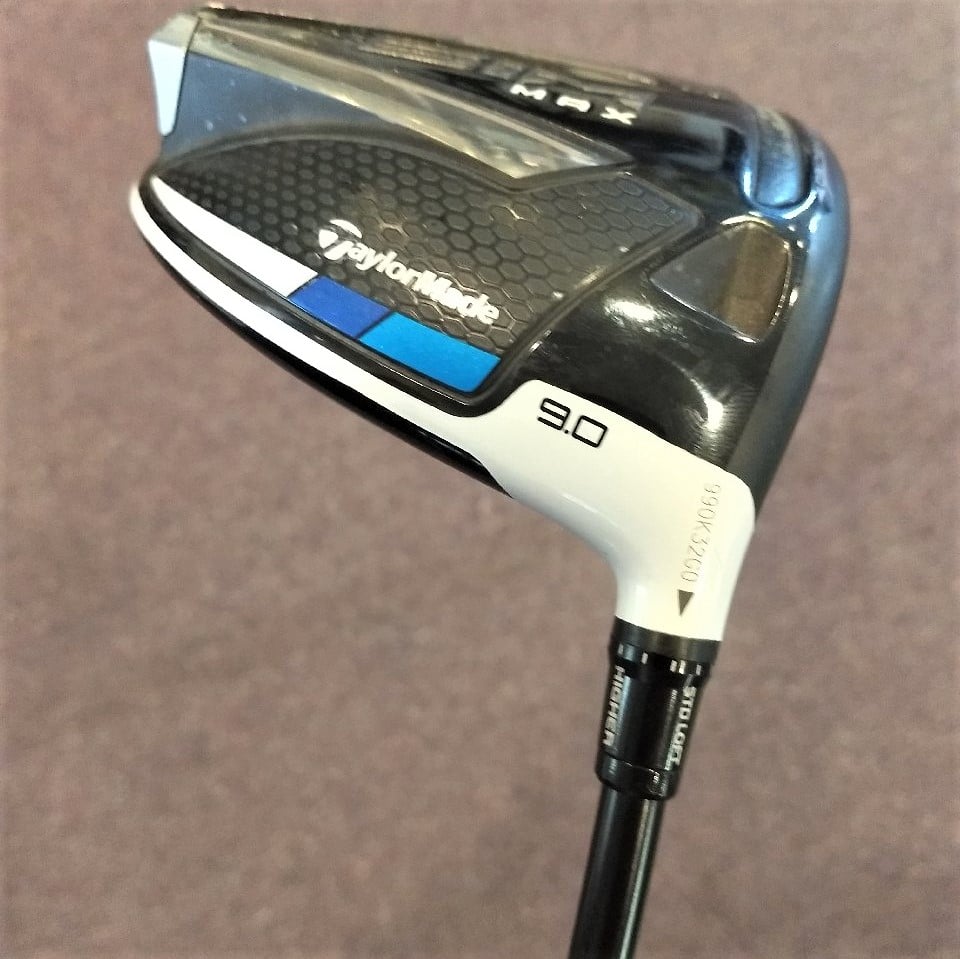
The very first thing you should do is to look at the setting on the club. The way to do this is look at the heel of the club. Often time there is an orientation dot, line or serial number that is used as reference. In many cases it will be in the "standard" position as most customers never change from the factory setting. However, if you do have a customer (or yourself) who has a preferred position, then you want to write that down because this will be the setting that we will put the adapter sleeve back in the head.
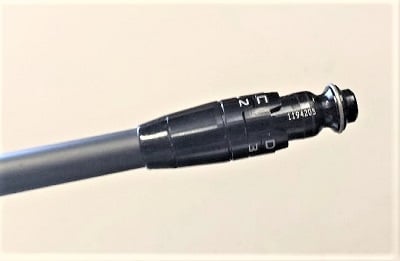
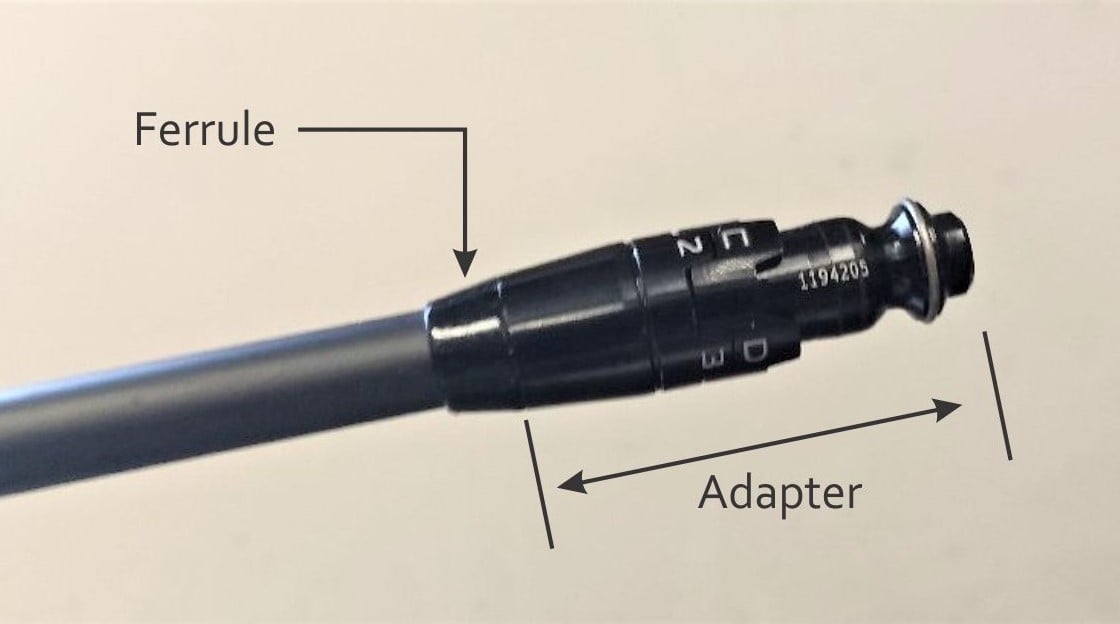
Shaft adapter anatomy
Many customers do not know the adapter sleeves can be saved as they are black, and many assume it is plastic and will melt when heated. The sleeves are made of aluminum and anodized black or whatever color the manufacturer wants them to be. The only plastic part is at the top which will be a ferrule; oftentimes a specialty ferrule you will have to acquire before you can re-shaft.
Using the appropriate wrench, loosen the screw (or bolt) at the bottom of the head to extract the quiver (adapter with shaft and grip attached). Next, carefully cut any ferrule that may be above adapter sleeve or try to twist off the snap on type like on older TaylorMade models. Lastly, heat the adapter and remove the shaft from the adapter like you would a bonded driver. The only exception would be on older TaylorMade models the top of the adapter sleeve is extremely thin. You do not want to push against the top of the sleeve to remove the shaft in this situation.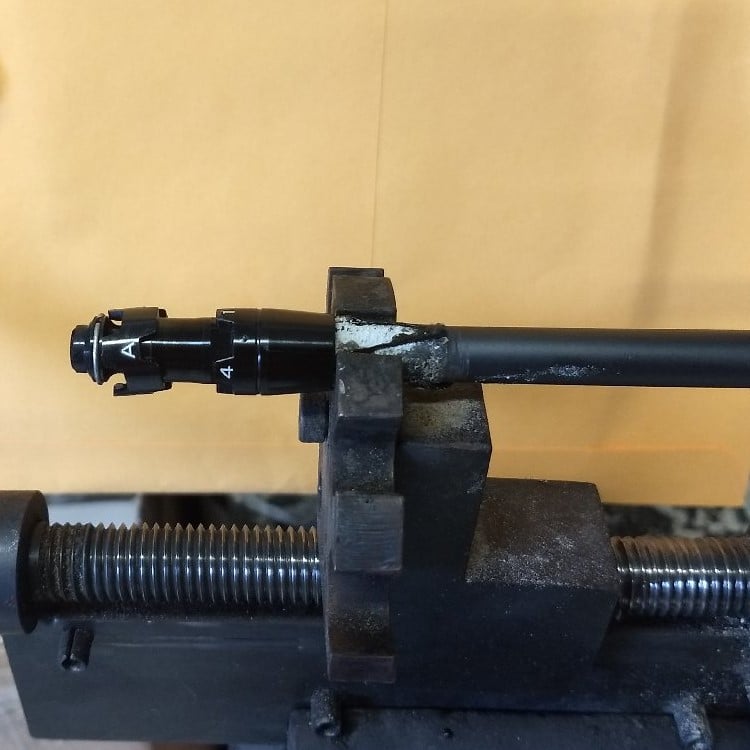
Remember, the adapter sleeve will hot so be cautious. You will want to run a wire brush or similar item to remove any excess epoxy from the interior of the hosel.
Finally, measure the shaft tip so you know what size shaft to order. If the original adapter sleeve requires a 0.350" shaft, then you will have few options to choose from. I personally am not a big fan of using a shim in an adapter sleeve so you may be best off starting with a new adapter sleeve.

Shaft adapter installation
Whether you are using a new adapter sleeve or the old one, the following process is the same.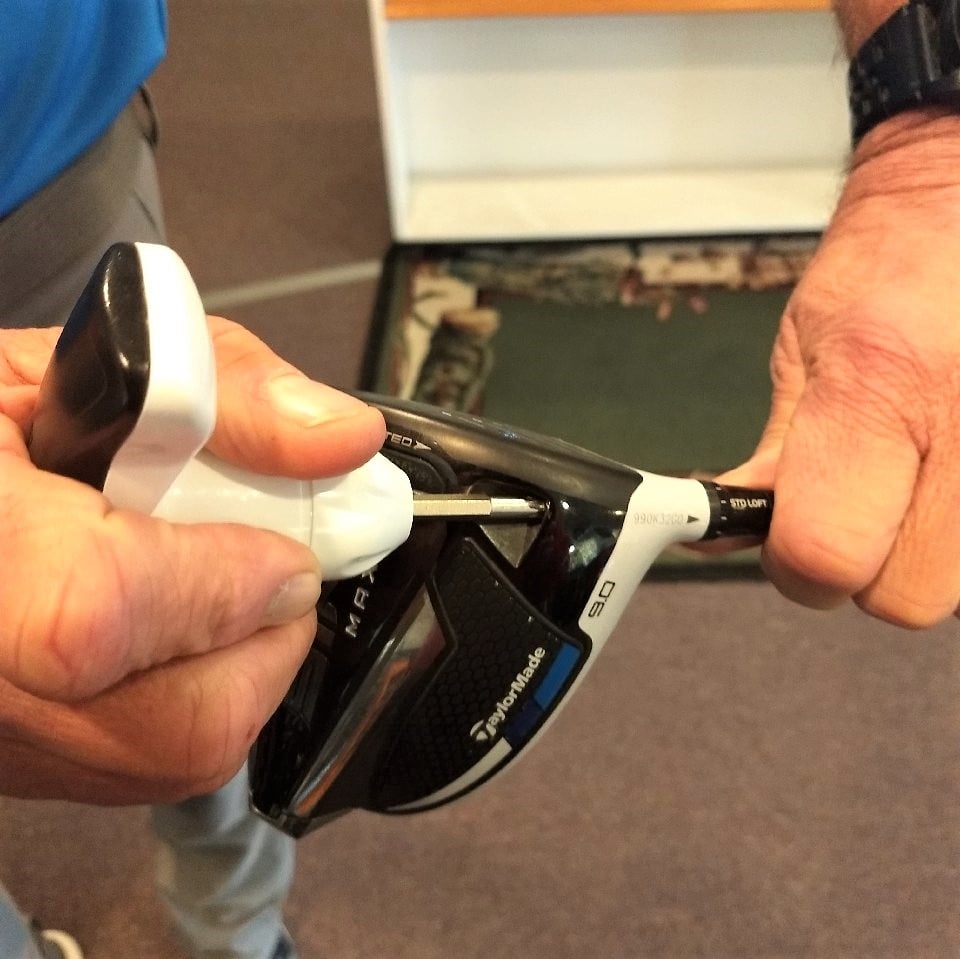
- Insert the adapter into the head in the position it was previously, start threading the screw and tighten it fully with the wrench. Yes, these are designed that you can rotate them into various positions, but if this is the preferred position then at least your silkscreen on the shaft and alignment on the grip will not be an issue.
- Start by making any tip trimming (if necessary). Prepare the tip as you would normally do making sure not to abrade too far that is exceeds the top of the ferrule or adapter if there is no ferrule on that model.
- Before you epoxy the shaft into the adapter, make sure the interior of the hosel is clean. Even on a new adapter, the walls are very smooth so it may not hurt to wipe it down with acetone for a better adhesion.
- Epoxy the shaft
- Cut to length (if you have not already done this when you dry-fitted the shaft into the adapter).
- Install your grip
As you can see, there are only a few additional steps than re-shafting a traditional bonded head as well as a few things like a Torx wrench and any specialty ferrule required for the model. If you purchase a brand-new adapter sleeve, those will almost always come with the required ferrule and the bolt; another reason why most clubmakers go this route.